 EditTextPhoto
Choose an image
Choose a JPG, PNG or WebP photo, screenshot, document scan or graphic up to 20 MB and 24 megapixels.
Use this free image text blur tool to blur words in a picture, pixelate text in image regions or black out sensitive details. Your image stays in your browser and downloads as a PNG—free, with no sign-in.
Use only images you own or are authorized to edit. For highly sensitive data, choose Solid cover and inspect the downloaded file before sharing.
Select the words yourself so the effect covers only the part of the image you intend to hide.
Choose a JPG, PNG or WebP photo, screenshot, document scan or graphic up to 20 MB and 24 megapixels.
Draw a rectangle around each word or line. Include the edges of every character.
Choose Blur for a soft effect, Pixelate for square blocks, or Solid cover for sensitive details. Add separate selections where needed.
Use Preview result and 100% or 200% zoom to check each region, then download the edited PNG. Inspect the downloaded file before sharing.
Each treatment changes the selected pixels differently. Match the effect to the reason you are hiding the words.
| Method | What it does and when to use it |
|---|---|
| Pixelate text | Turns words into visible square blocks. Suitable for fictional dashboard metrics, demo labels and a deliberate mosaic look. Use Solid cover for sensitive details, since pixelation can preserve recognizable patterns. |
| Blur text | Softens letter edges while retaining the general colors and context around the selected words. Increase the strength until the wording is no longer readable. |
| Solid cover text | Places an opaque dark rectangle over the selected area. This is the clearest choice for sensitive details that must not remain visually recognizable. |
| Crop | Removes a section of the image, which can also remove useful context. Cropping is not a control in this tool. |
Compare original and edited screenshots from support tickets, chats, product dashboards and receipt photos. These examples use sample data and hide selected fields; always check the rest of the image before sharing.
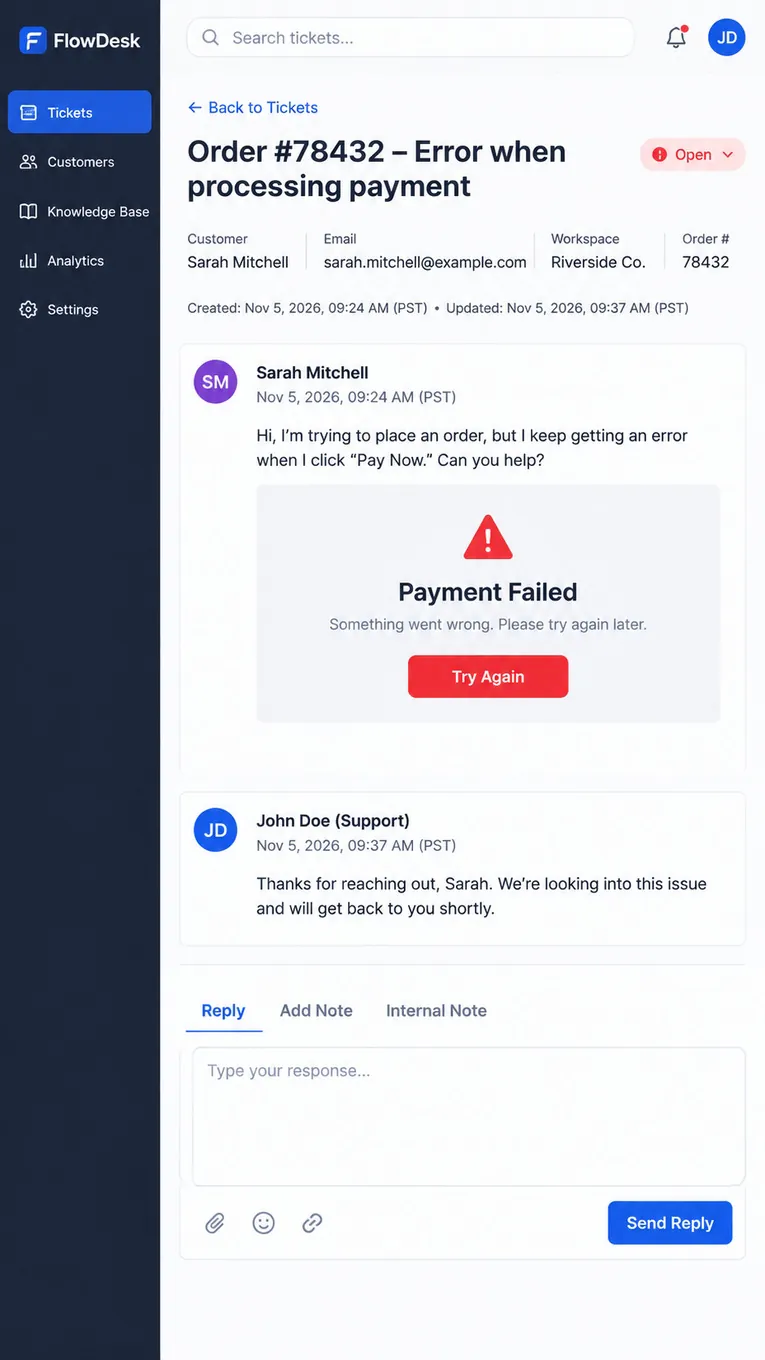
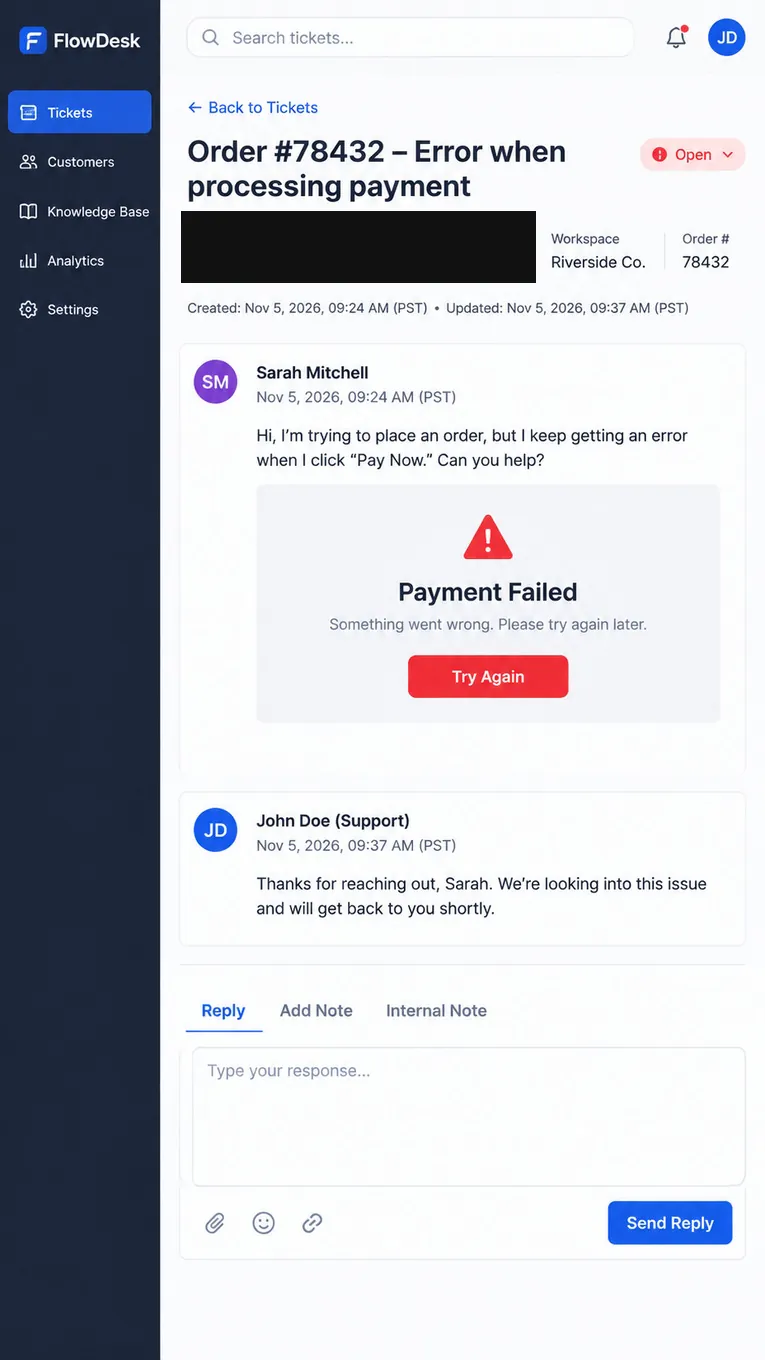
Cover selected customer details while keeping the payment error and ticket conversation visible. Check repeated names in messages before sharing.
Recommended: Solid coverWhy this mode: Customer names and emails identify a person. Opaque coverage hides their letter shapes while keeping the support issue visible.
Sample data · Click either image to view it larger.
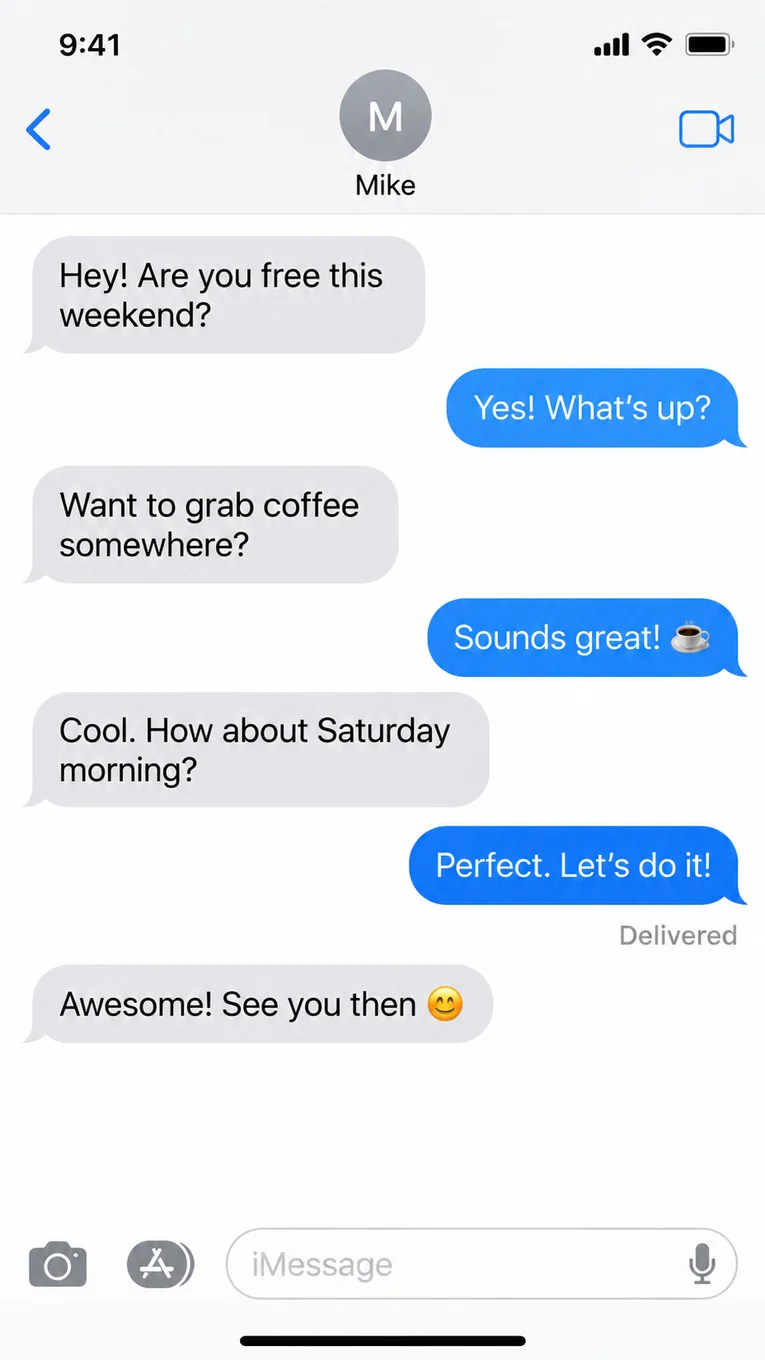
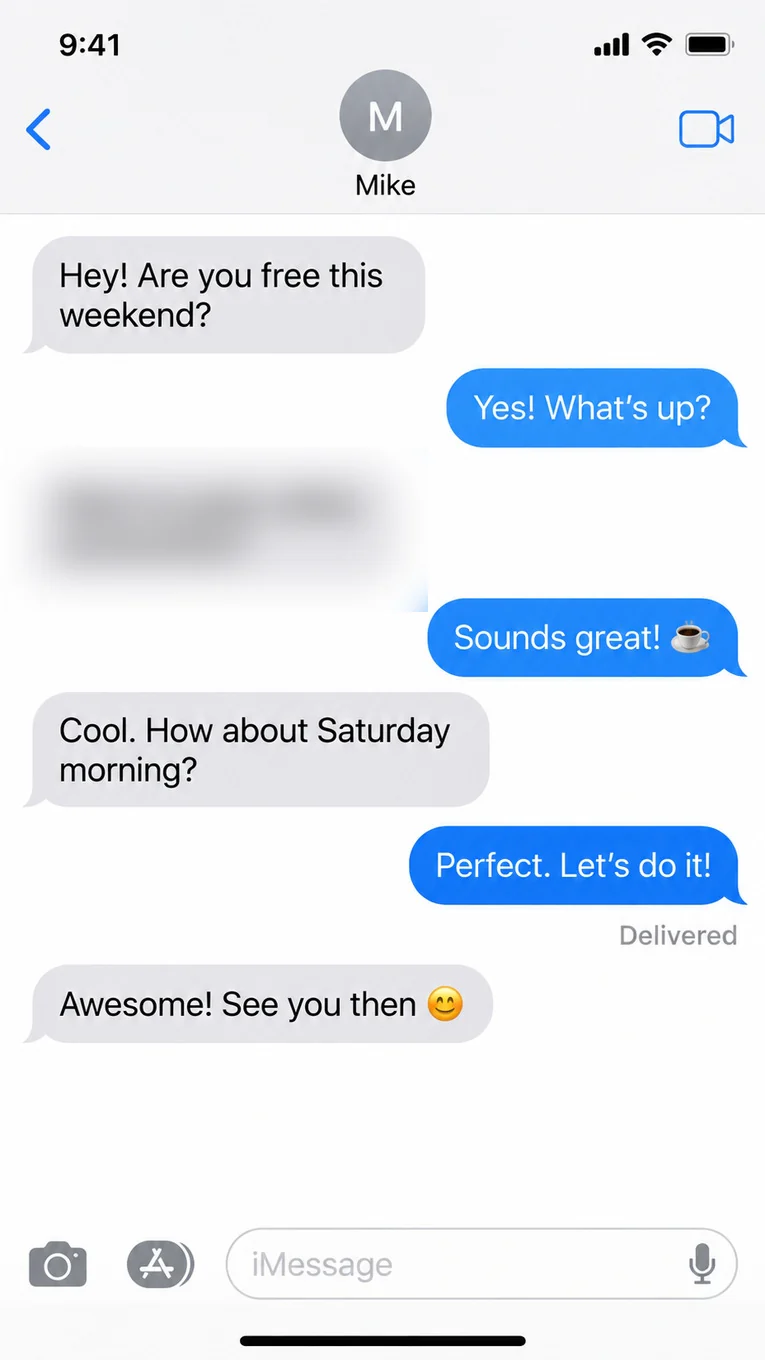
Blur one fictional, non-sensitive message while keeping the rest of the conversation visible. For private messages or identifying details, use Solid cover.
Recommended: BlurWhy this mode: Soft blur suits fictional, non-sensitive chat messages and preserves the visual flow. Use Solid cover for real private messages or identifying details.
Sample data · Click either image to view it larger.
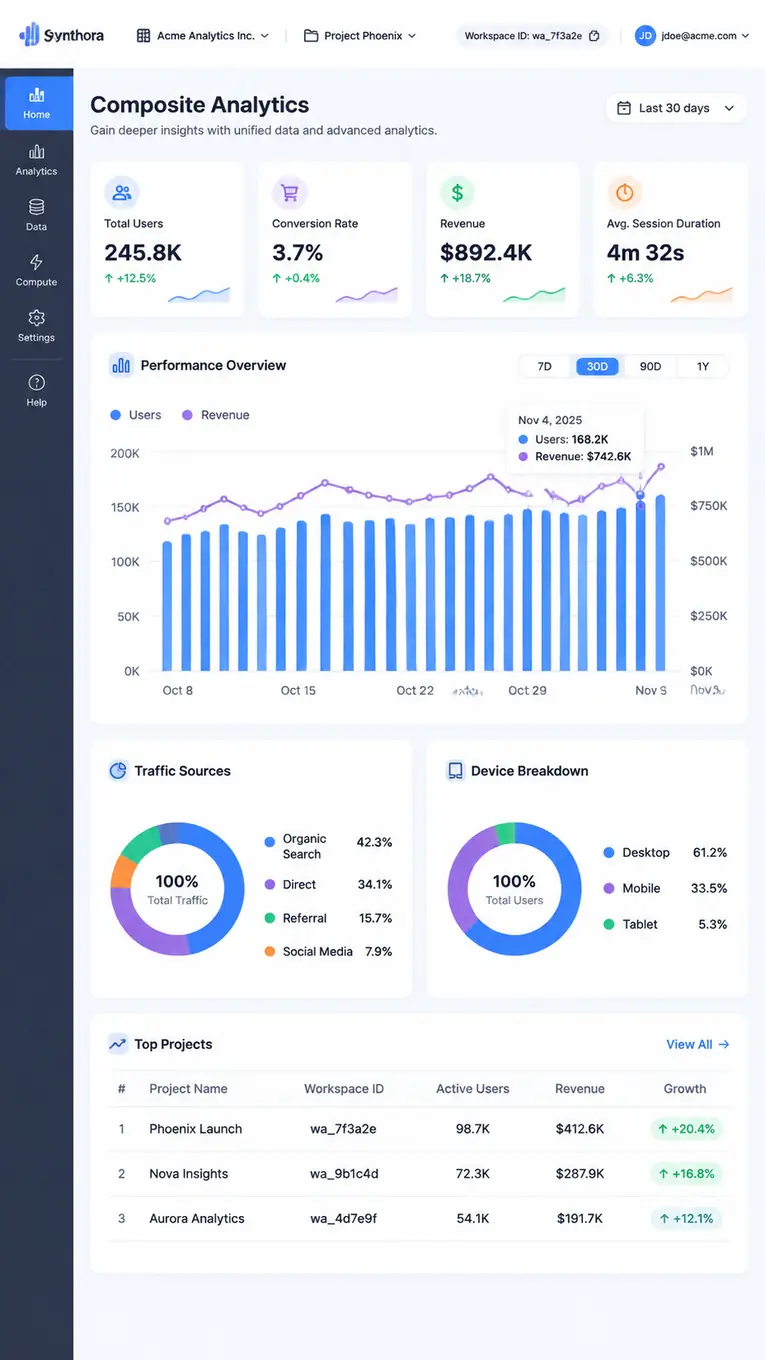
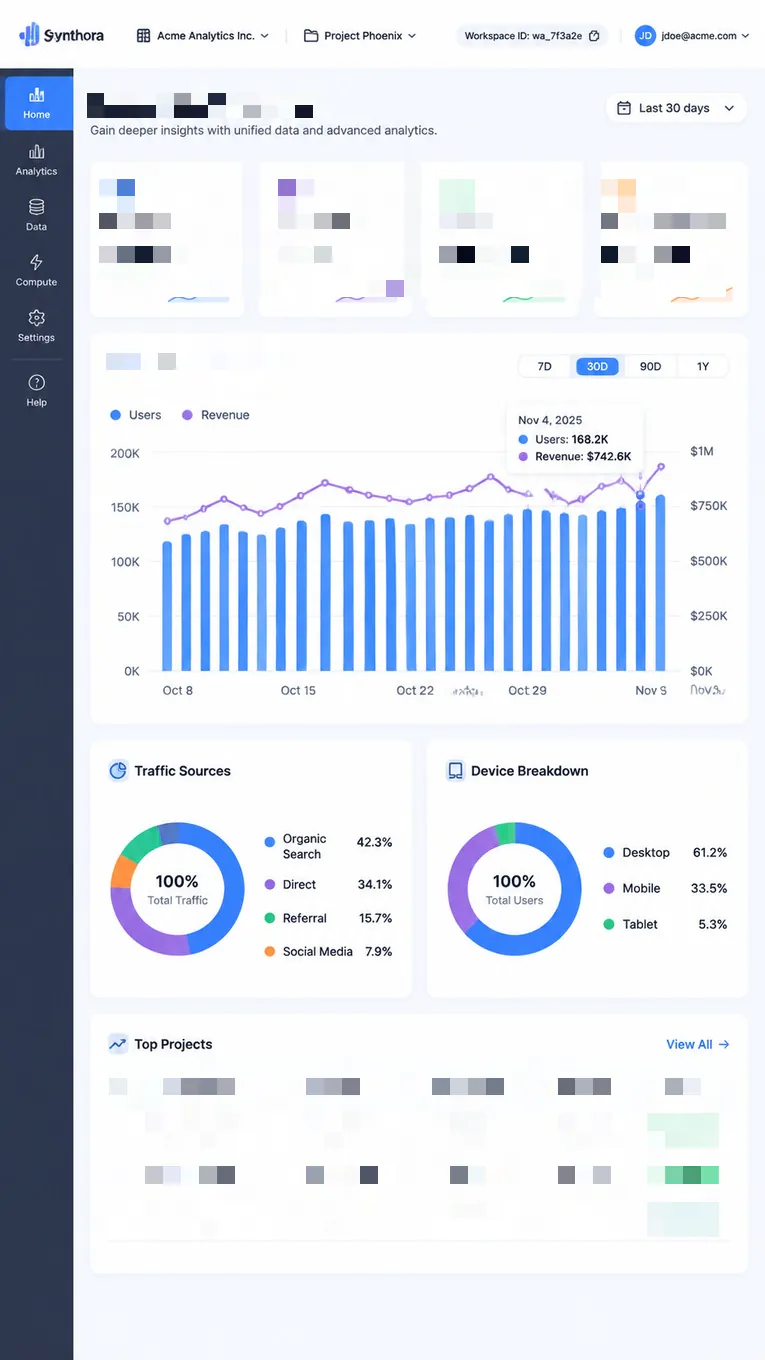
Pixelate selected dashboard summaries and project rows while keeping the charts and navigation visible. This is a visual effect; use Solid cover for sensitive business information.
Recommended: PixelateWhy this mode: Square blocks suit fictional demo metrics and project labels, clearly marking omitted details while keeping the layout visible. Use Solid cover for confidential business data. This comparison shows Pixelate applied to selected demo details.
Sample data · Click either image to view it larger.
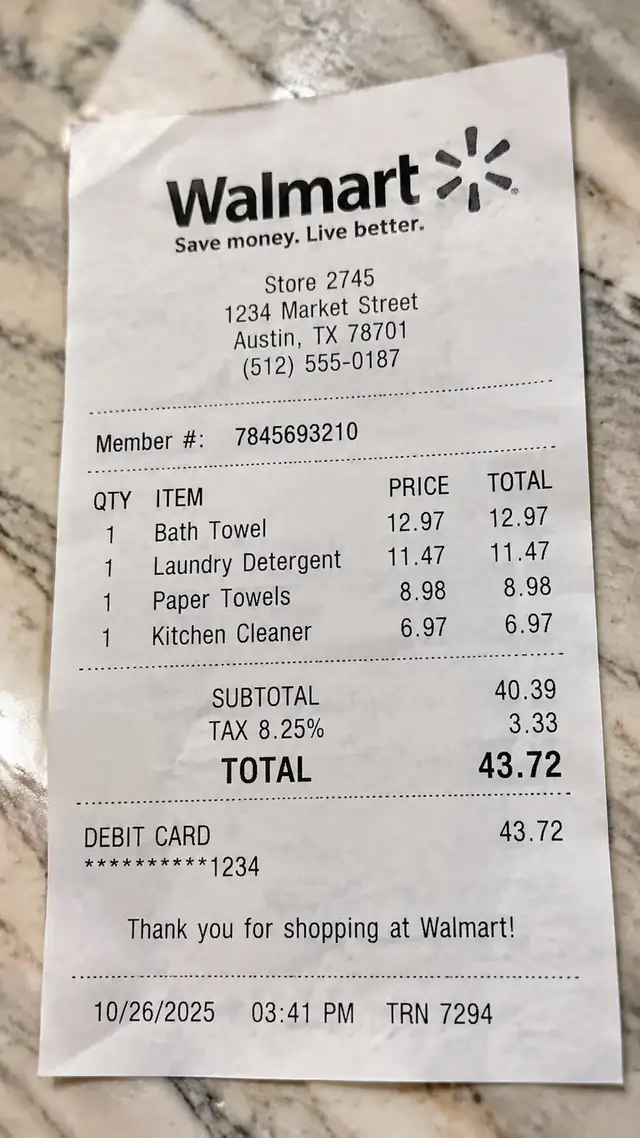
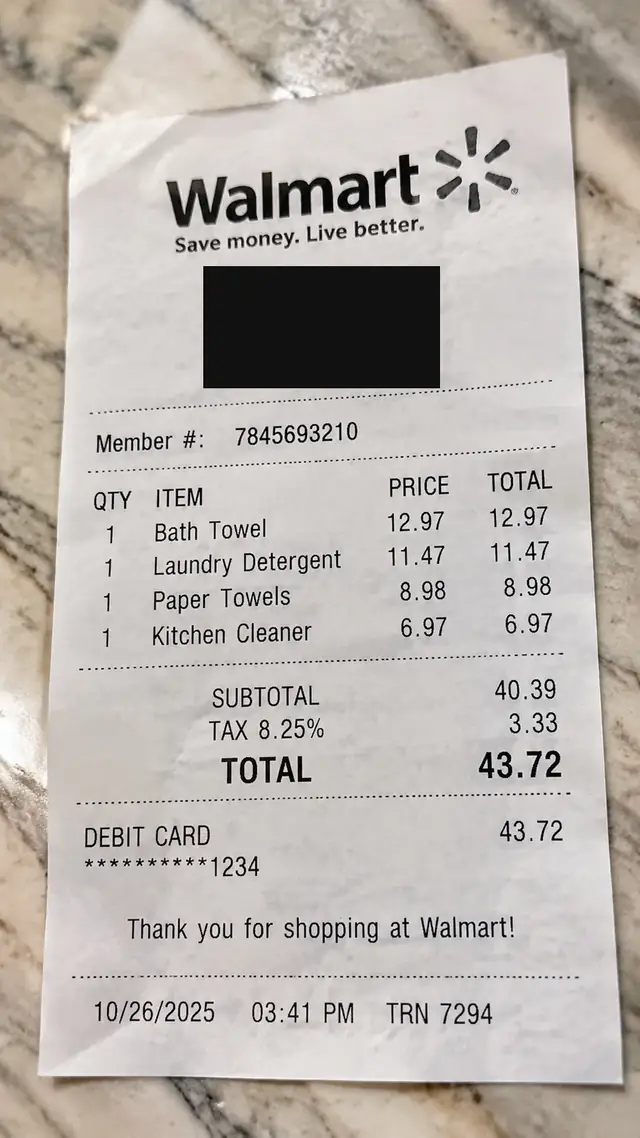
Cover the selected contact block while keeping purchased items and totals visible. This sample still shows a membership number and card suffix; review and cover those separately before sharing.
Recommended: Solid coverWhy this mode: Fully cover addresses, phone numbers and membership IDs, including tilted character edges. Blur is suitable for incidental, non-sensitive wording in a photo.
Sample data · Click either image to view it larger.
Understand what the page does, who it serves and when another image workflow is a better fit.
EditTextPhoto provides this local browser image editor for blurring, pixelating or covering selected text. Manual boxes let you control exactly where each effect appears; text is not automatically detected.
Creators, support teams, educators, sellers and individuals use it before sharing photos, screenshots or document images.
It hides visible words in a flattened image while preserving the original dimensions and the surrounding picture.
Cropping removes part of the picture. AI text removal tries to rebuild the background. This tool changes the regions you select while keeping the surrounding layout visible. It does not automatically find private details.
Upload the clearest source, select each text area, choose the right coverage level and verify the exported PNG before sharing.
Blur words nowReview privacy, mobile use and the differences between each hiding method.
Process the file locally, select every word you want to cover and download a PNG without signing in.
Choose image